
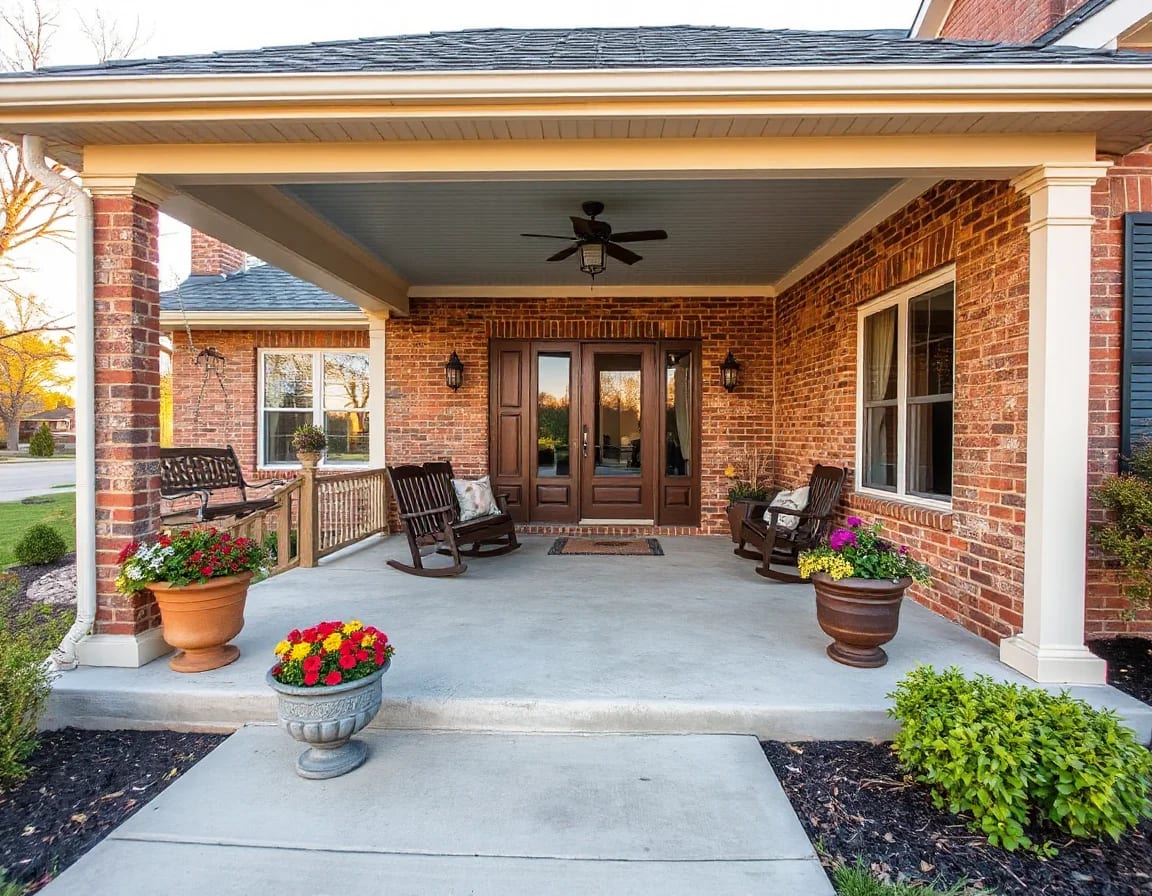
Before buyers compare square footage, finishes, and location, they notice what your home feels like in the first few minutes. These six practical pre-list fixes can reduce distractions, strengthen listing photos, and help visitors spend more time appreciating the features that make your Olathe home distinct. Most are manageable projects that can make a meaningful difference without turning preparation into a full renovation.
Start With the Details Buyers Notice First
A successful pre-list plan is not about making every surface brand new. It is about removing the small visual interruptions that can make buyers wonder what else needs attention. In Olathe and across the Kansas City metro, buyers often compare several homes in a short window. A clean, cared-for presentation helps them focus on layout, natural light, storage, outdoor space, and the updates that already add value.

1. Refresh the front approach. The route from curb to front door sets the tone for the showing. Trim overgrown shrubs, pull weeds, edge the walk, replace a tired welcome mat, and make sure exterior lights, house numbers, and the doorbell are working. A pressure-washed walkway or a freshly painted front door can have outsized visual impact. The goal is not elaborate landscaping; it is a neat arrival that signals routine maintenance.
2. Repair obvious touch-up items. Loose cabinet hardware, a dripping faucet, a sticking interior door, cracked switch plates, and burned-out bulbs are all small jobs, but they can pull attention away from larger selling points. Walk through the home slowly with a notepad and test what a visitor may touch: doors, drawers, faucets, blinds, locks, and light switches. Grouping these repairs into one weekend project or one handyman visit is often more efficient than tackling them piecemeal.
3. Use paint strategically. Fresh paint is most useful where there are scuffs, strong personal color choices, patch marks, or visible wear. Neutral does not have to mean bland; a clean, coordinated palette allows flooring, windows, trim, and architectural details to read clearly in photos and in person. If repainting the whole home is unnecessary, focus on high-traffic halls, entry areas, kitchens, bathrooms, and any room where touch-ups would be noticeable.
Buyers may not remember every repaired hinge or fresh wall, but they do remember whether a home felt consistently cared for from the entry through the final room.
It also helps to view the property through the lens of listing photography. Cameras pick up cluttered counters, mismatched bulbs, uneven window coverings, and wall marks more readily than people often expect. A pre-list walkthrough during daylight can reveal where a small adjustment will make rooms feel brighter and more intentional online.
Make the Interior Easy to Read
Once the major visual distractions are handled, shift attention to clarity. Buyers need enough open space to understand how rooms connect and where furniture fits. That does not require emptying the house, but it does require editing. Think of each room as a quick visual message: this is the dining area, this is the workspace, this is the storage, this is how the room receives light.
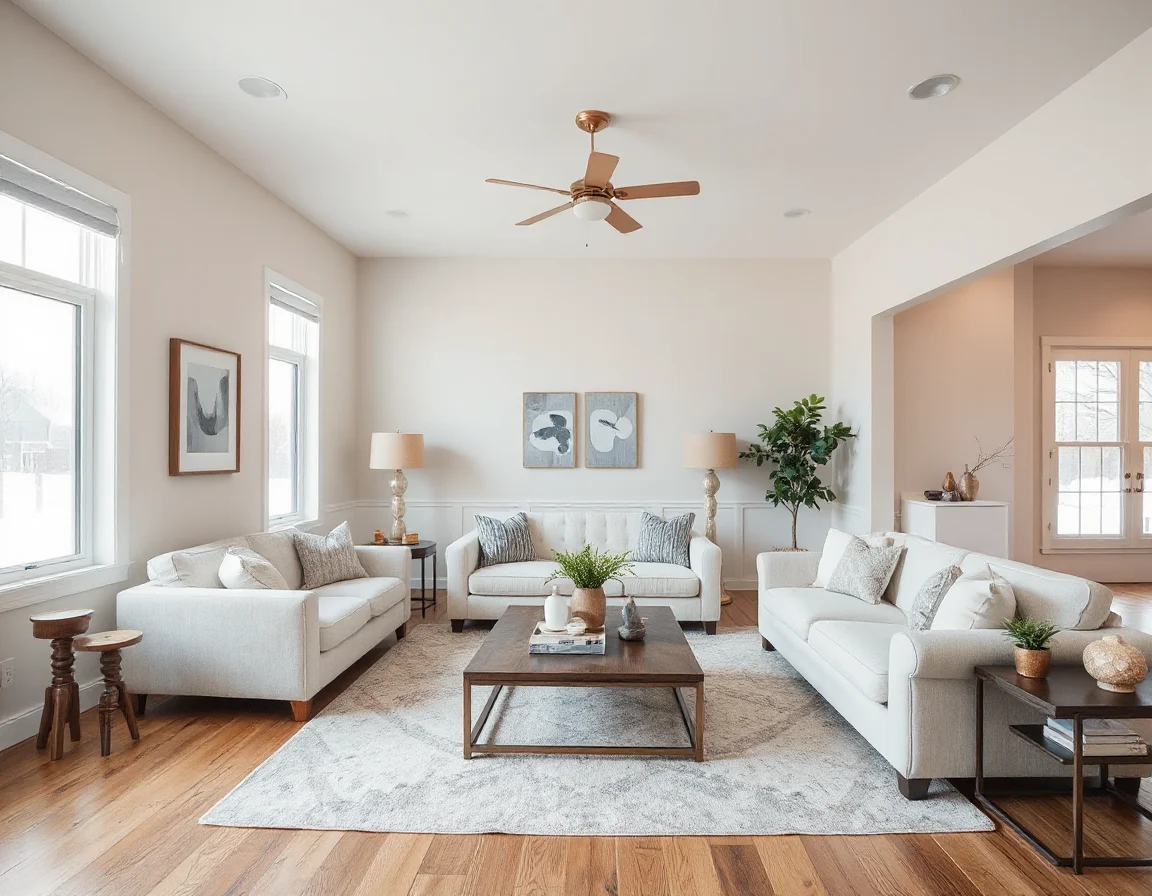
4. Edit furniture and personal items. Start with the rooms photographed most often: the living room, kitchen, primary bedroom, baths, and main gathering areas. Remove excess chairs, bulky pieces that narrow a walkway, countertop appliances that are rarely used, and collections that compete with the room itself. Store paperwork, pet supplies, charging cords, refrigerator magnets, and countertop toiletries. These edits help show square footage and make daily storage feel more generous.
5. Deep-clean the surfaces that suggest maintenance. Buyers often look closely at kitchens and baths because these spaces can be costly to update. Clean grout, polish fixtures, clear drains, wipe cabinet fronts, and refresh caulk where it has yellowed or separated. In the kitchen, pay special attention to the sink, cooktop, appliance fronts, backsplash, and interior of the microwave. In bedrooms and living areas, clean baseboards, ceiling-fan blades, window tracks, and vents. Professional carpet cleaning can be worthwhile when it improves appearance or removes lingering odors.
6. Brighten lighting and simplify window treatments. Replace nonworking bulbs and use matching bulb temperatures within each room so the lighting appears consistent. Open blinds and curtains for photography unless privacy requires otherwise, and clean the glass before photos and showings. If a room is naturally dim, a lamp placed in a darker corner can make its proportions easier to see. Avoid overly scented products; a clean, neutral indoor environment is generally more effective than a strong fragrance.
These tasks are especially useful because they help buyers focus on the home’s real assets rather than trying to mentally subtract clutter or deferred cleaning. They can also make showing preparation easier once the listing goes live. Keeping a few labeled bins or a simple daily reset routine can help the home remain ready with less stress.
Choose Projects by Return, Not by Pressure
Not every home needs a major renovation before listing. A full kitchen remodel, new flooring throughout, or a large exterior project may be appropriate in some situations, but those decisions should be tied to the home’s condition, likely price range, competing listings, timeline, and available budget. The best pre-list improvements are often the ones that solve an obvious concern while preserving the ability for the next owner to make their own design choices.
Before spending on a larger project, compare three questions: Will buyers immediately see the issue? Will the improvement photograph well and function well? Is there a less expensive repair, cleaning step, or cosmetic refresh that accomplishes the same goal? For example, replacing damaged cabinet pulls and refinishing a worn front door may be more useful than replacing every cabinet or rebuilding an entire entry.
It can also be helpful to separate preparation into categories. First, address health, safety, and function items such as active leaks, electrical concerns, damaged handrails, or nonworking systems. Next, handle visible maintenance. Finally, invest in presentation: cleaning, paint, landscaping, lighting, and staging adjustments. This sequence keeps the budget centered on what makes the home easier to evaluate rather than on upgrades that may not match buyer priorities.
Local market conditions can affect timing and strategy, but preparation remains valuable in almost any environment. When inventory is limited, a polished home can stand out quickly. When buyers have more choices, good preparation helps prevent a property from being dismissed over details that were inexpensive to fix. Either way, clear photos and an orderly showing experience give buyers more confidence as they compare homes.
Create a Plan Before the Listing Photos
A practical checklist turns a long to-do list into a manageable schedule. Begin several weeks ahead when possible, complete repairs before cleaning, then schedule photography only after the home is fully prepared. On photo day and before showings, clear kitchen and bath counters, conceal waste bins, open window coverings, turn on interior lights, and make sure exterior areas are tidy. The finished presentation should feel welcoming, functional, and easy to explore.
Every property has a different starting point, so the most effective plan is tailored to the home rather than copied from a generic renovation checklist. Christopher Webb and Urban Cool Homes can help Olathe sellers identify the preparation steps most likely to support a strong listing presentation, while keeping the process grounded in current Kansas City metro market context. A few focused fixes can help buyers see the home itself—not the distractions around it.